Hosting a Node.js Backend On Render

Introduction:-
Render is one of the free alternatives of Heroku(Paid Now) for hosting web applications. Let’s learn to host a Node.js application on Render in 7 easy steps.
Step 1 :- Login on Render preferably through Github.
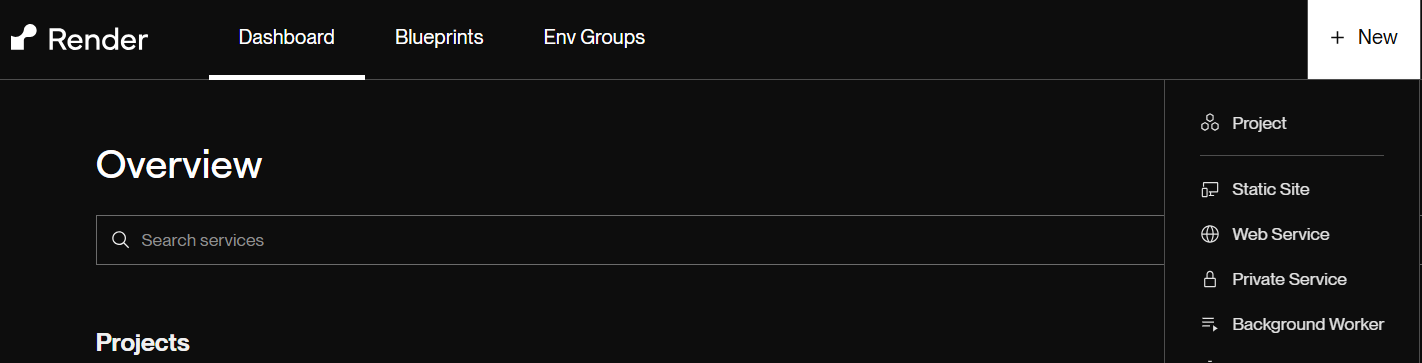
Step 2:- Click on New then click on Web Service.
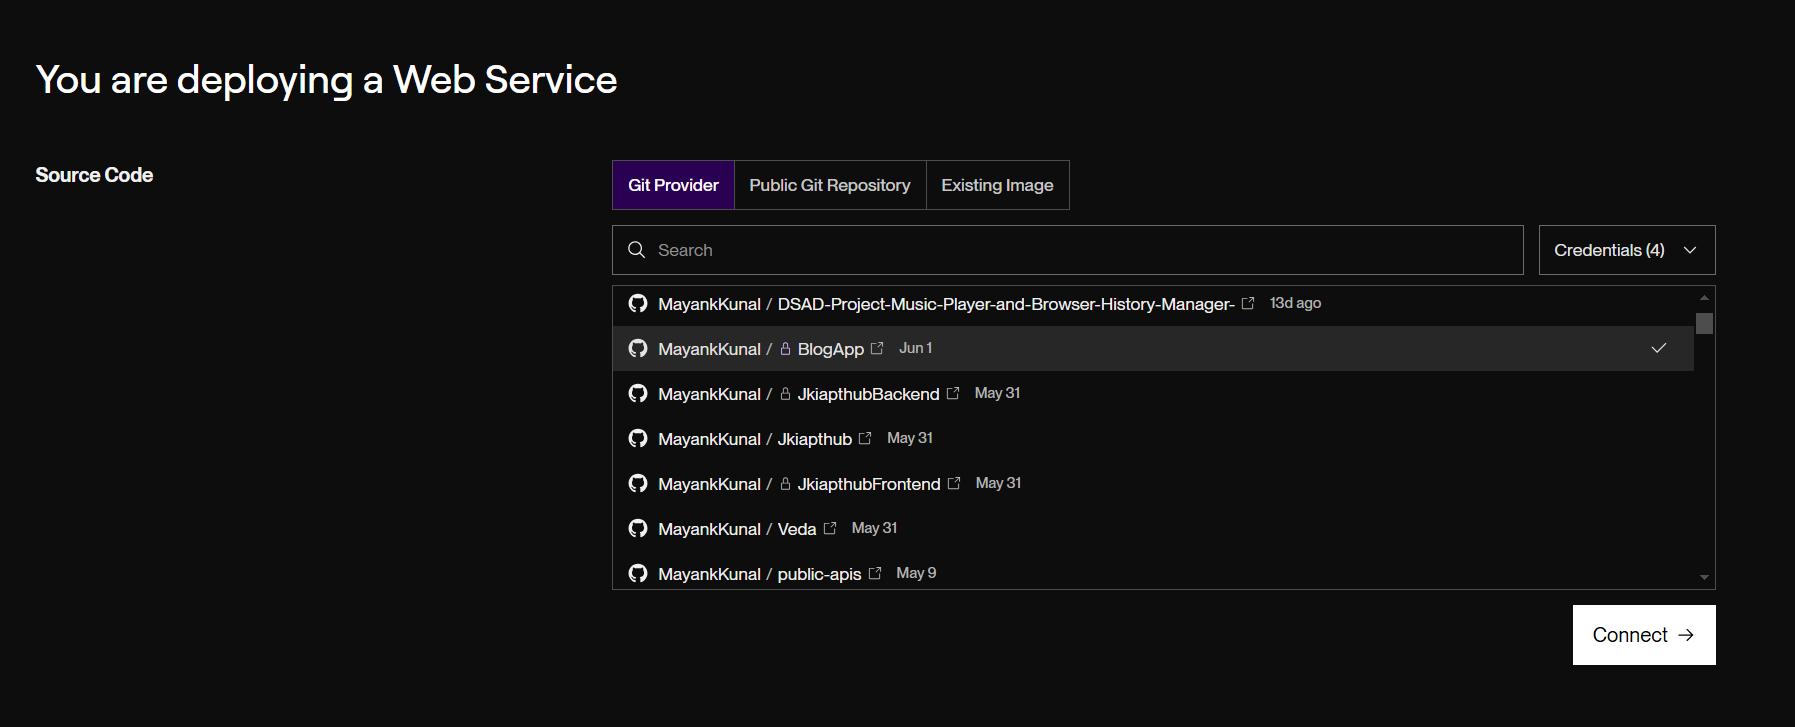
Step 3:- Select the Repository.
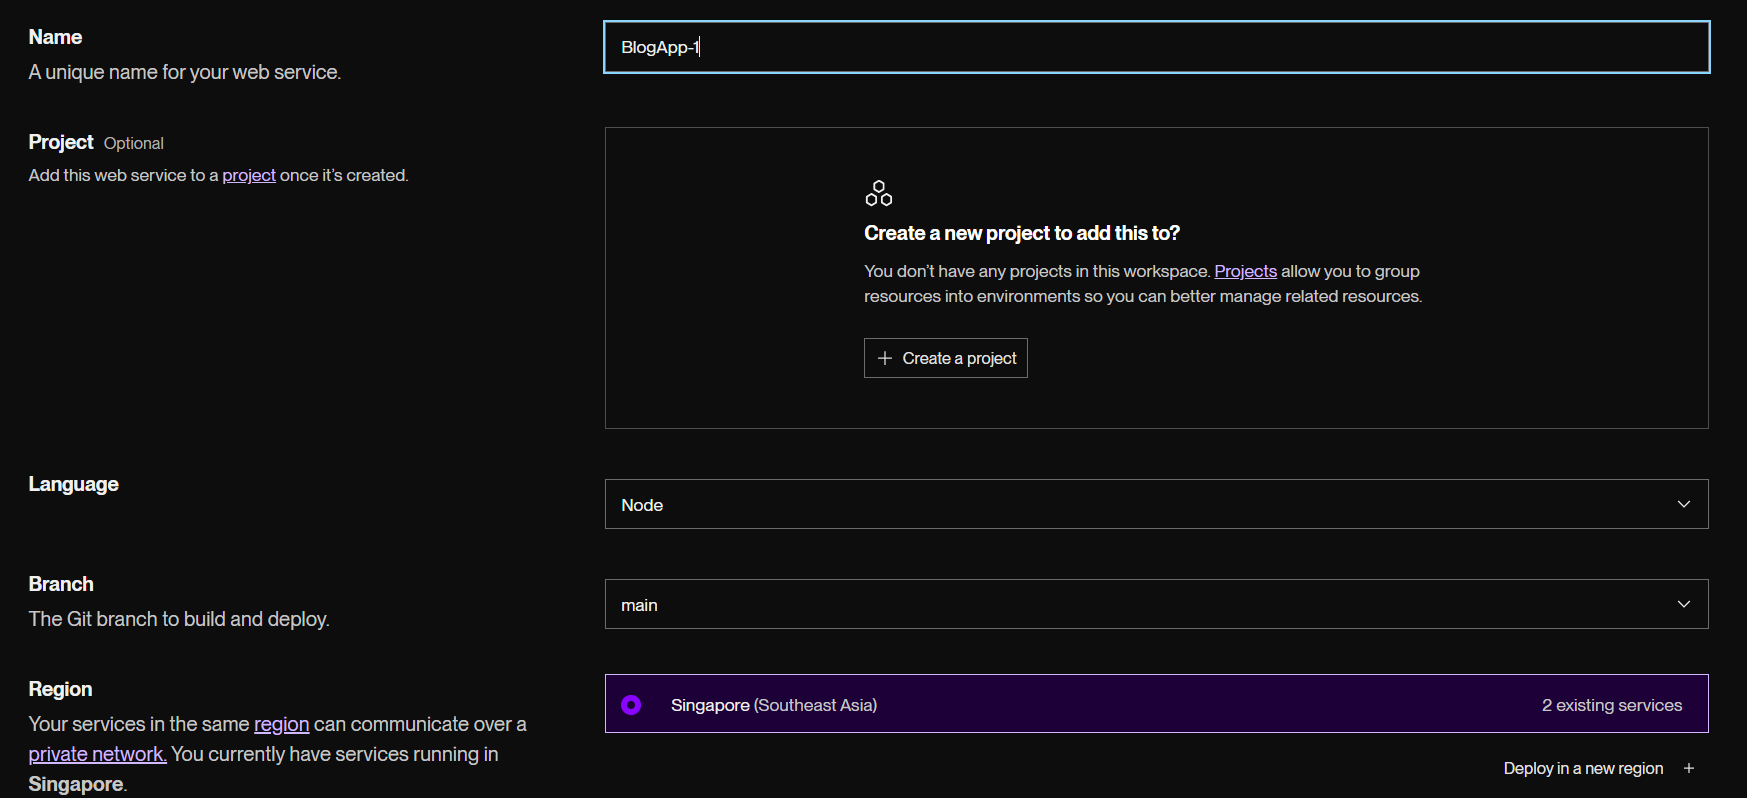
Step 4:- Set the project name, select Language (Node is our case) and the branch(GitHub) want to deploy. Leave the region as it is.
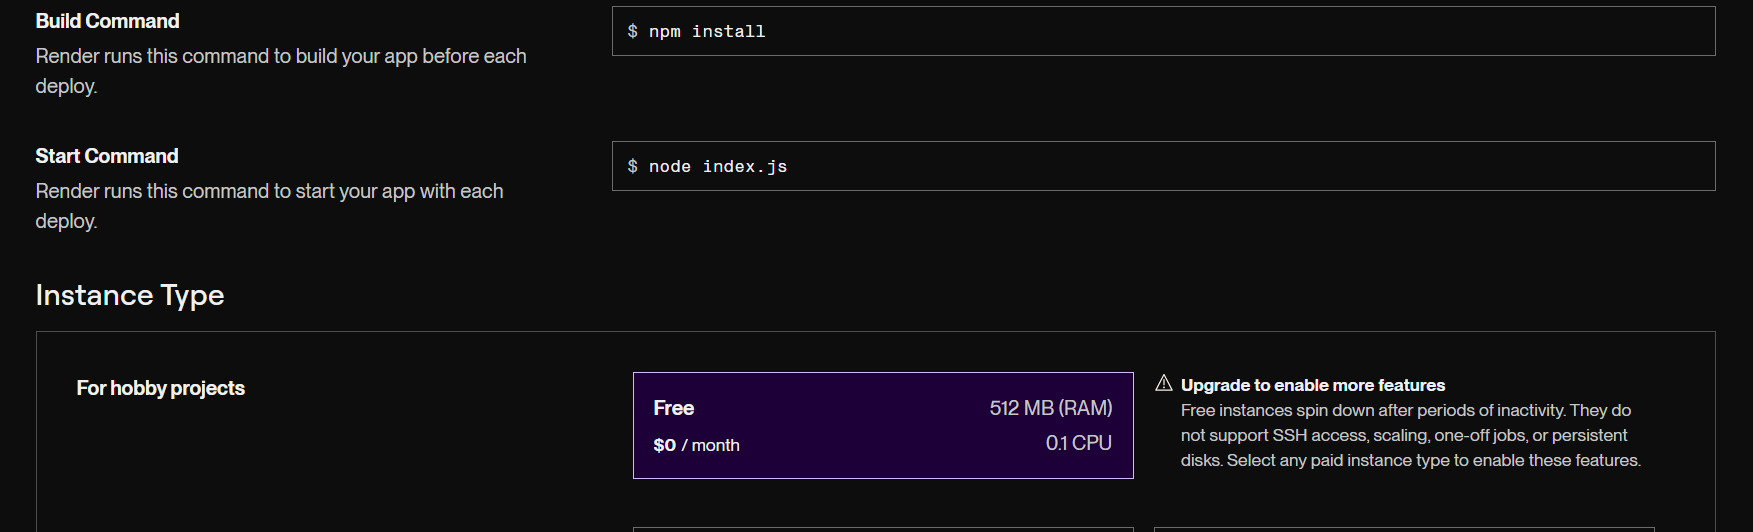
Step 5:- Leave the build command (it will install the necessary package from the pakage.json file). The start command will be node index.js/main.js as per your code file. Set the Instance type to Free.
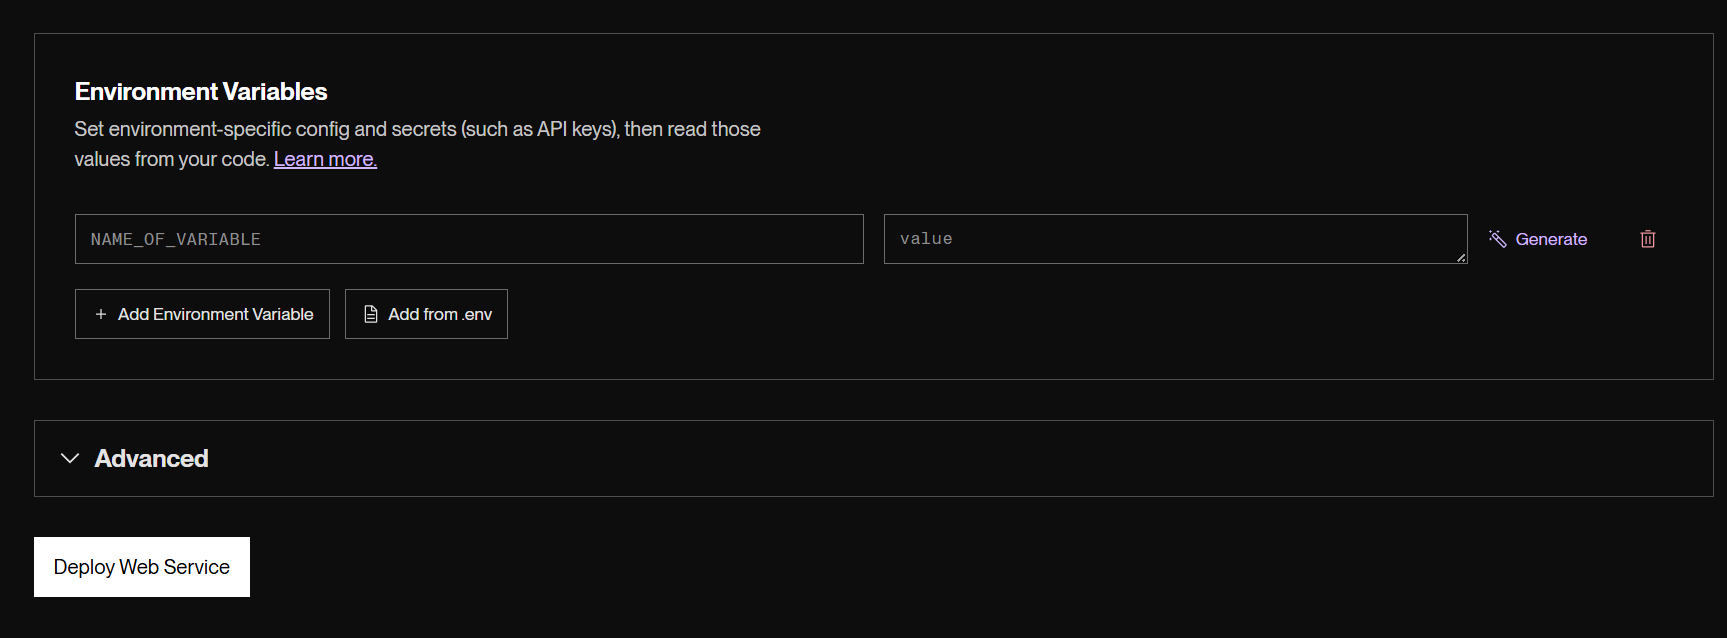
Step 6:- Set the Environment Variables as per your .env file(keep it secret 😊).
Click on Deploy Web Service.
Step 7:- A Window will appear with all build and deploy logs.
Keep patience it will go up to 5-10 minutes.
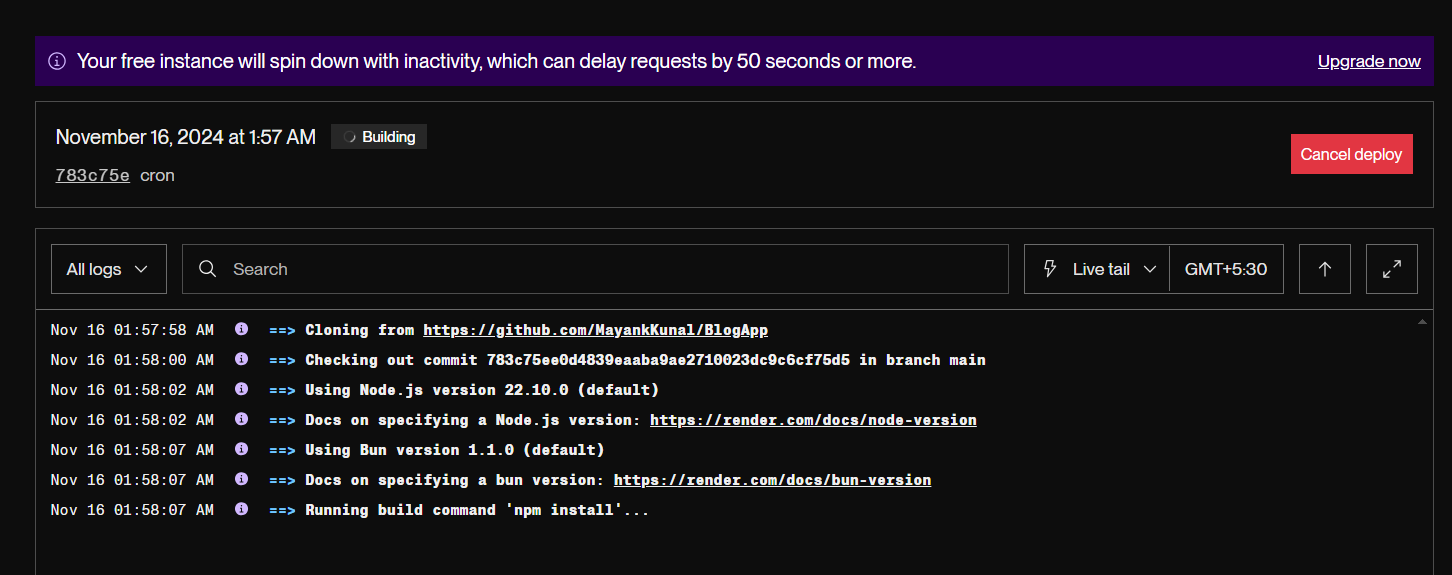
Hurray your application is like now.

Conclusion:-
The Render provides free hosting but there is an issue that its free tier services slow down if the application is inactive for 10-15 minutes which in turn take time to restart hardly 1-2 minutes. One can use corn job to eliminate inactivity which we will discuss in another article.
